Imagine being able to control your Raspberry Pi from anywhere in the world, without spending a penny. Sounds too good to be true? Well, buckle up because we're diving deep into the world of remote Pi access, and I promise it's going to blow your mind.
Accessing your Raspberry Pi remotely isn't just for tech wizards anymore. It's become an essential skill for anyone who wants to maximize their Pi's potential. Whether you're a hobbyist tinkering with IoT projects or a developer managing remote servers, mastering remote access is a game-changer. And the best part? You can do it all for free.
This guide is your golden ticket to unleashing the power of your Raspberry Pi without breaking the bank. From setting up secure connections to troubleshooting common issues, we've got you covered. So grab your favorite beverage, and let's get started.
Read also:Hdhub4ucom 2024 Your Ultimate Destination For Highquality Entertainment
Table of Contents
- Introduction to Access Pi Remotely Free
- What is Raspberry Pi?
- Why Access Raspberry Pi Remotely?
- Free Tools for Remote Access
- Setting Up SSH for Remote Access
- Exploring Free VPN Options
- Security Tips for Remote Pi Access
- Troubleshooting Common Issues
- Real-World Uses of Remote Pi Access
- Conclusion: Take Control of Your Pi
Introduction to Access Pi Remotely Free
So, you've got this awesome little device called a Raspberry Pi sitting on your desk, and you're wondering, "How can I access it from anywhere without spending a ton of cash?" Well, my friend, you're in the right place. In this section, we're breaking down the basics of remote Pi access and why it's such a big deal.
Remote access isn't just about convenience; it's about efficiency. Imagine being able to manage your home automation system while you're at work or debugging a project from the comfort of your couch. With the right tools and a bit of know-how, you can make it happen without spending a dime.
But before we dive into the nitty-gritty, let's clear up one thing: remote access doesn't have to be complicated. You don't need to be a coding guru or spend hours setting up complex systems. We'll walk you through every step, so even if you're new to the Pi game, you'll feel like a pro in no time.
What is Raspberry Pi?
Alright, let's take a step back for a sec. If you're new to the world of Raspberry Pi, here's the lowdown. The Raspberry Pi is essentially a tiny computer that can do some pretty amazing things. It's small, affordable, and packed with potential. Think of it as the Swiss Army knife of tech gadgets.
Key Features of Raspberry Pi
- Compact size – fits in your pocket!
- Low power consumption – runs on minimal energy
- Versatile – can be used for anything from media centers to IoT projects
- Affordable – you can get one for under $50
Now, when it comes to accessing your Pi remotely, the possibilities are endless. Whether you're running a weather station, a security camera, or even a personal server, remote access opens up a whole new world of opportunities.
Why Access Raspberry Pi Remotely?
Let's face it – sometimes you just can't be physically present to interact with your Pi. Maybe you're traveling, or maybe your Pi is set up in a hard-to-reach location. Whatever the reason, remote access gives you the flexibility to manage your projects from anywhere.
Read also:Is Gorecenter Safe Or Not Unveiling The Truth Behind The Controversy
Benefits of Remote Access
- Convenience – manage your Pi without being in the same room
- Efficiency – save time by troubleshooting remotely
- Security – monitor and control your devices even when you're not home
- Cost-effective – no need for expensive hardware or software
And the best part? With the right tools, you can do all of this for free. No hidden costs, no subscription fees – just pure, unadulterated remote access goodness.
Free Tools for Remote Access
Now that we've established why remote access is a must-have skill, let's talk about the tools you'll need to make it happen. The good news is, there are plenty of free options out there that are both powerful and easy to use. Here are a few of our top picks:
1. SSH (Secure Shell)
SSH is like the Swiss Army knife of remote access tools. It allows you to connect to your Pi securely over the internet, giving you full control of the command line. Best of all, it's built into most Linux distributions, so you don't need to install anything extra.
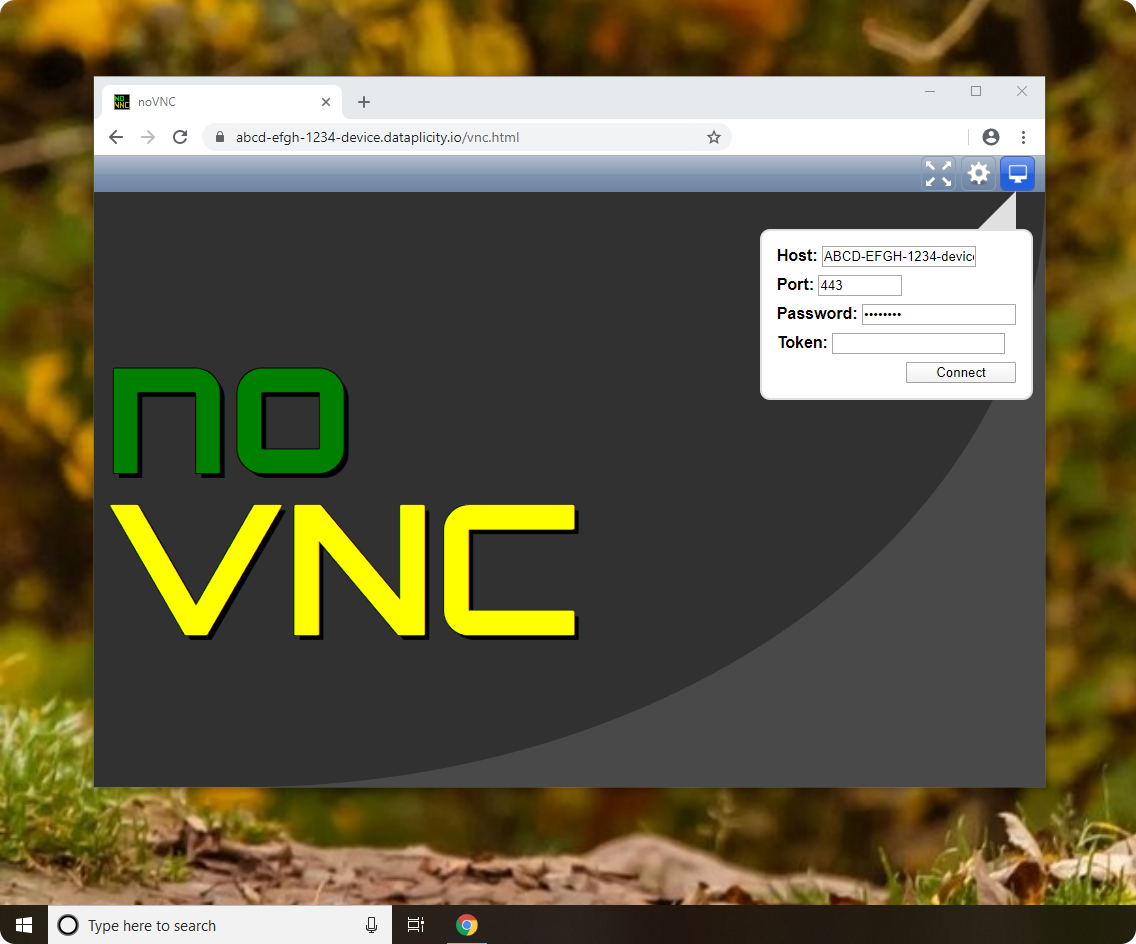
2. VNC (Virtual Network Computing)
If you prefer a graphical interface, VNC is the way to go. It lets you see and interact with your Pi's desktop as if you were sitting right in front of it. There are several free VNC clients available, so you can choose the one that suits your needs best.
3. ngrok
Ngrok is a nifty little tool that creates a secure tunnel to your Pi, allowing you to access it from anywhere. It's super easy to set up and doesn't require any fancy configuration. Plus, it's free for personal use!
Setting Up SSH for Remote Access
SSH is hands down one of the easiest and most secure ways to access your Raspberry Pi remotely. Here's a step-by-step guide to help you get started:
Step 1: Enable SSH on Your Pi
To enable SSH on your Raspberry Pi, simply open the terminal and type:
sudo raspi-config
From there, navigate to "Interfacing Options" and enable SSH. That's it – you're good to go!
Step 2: Find Your Pi's IP Address
Before you can connect to your Pi, you'll need to know its IP address. You can find this by typing:
hostname -I
This will display your Pi's local IP address, which you'll need to connect via SSH.
Step 3: Connect to Your Pi
Now that SSH is enabled and you know your Pi's IP address, it's time to connect. Open a terminal on your computer and type:
ssh pi@your_pi_ip_address
Enter your Pi's password when prompted, and voilà – you're connected!
Exploring Free VPN Options
If you're concerned about security (and you should be), using a VPN is a great way to protect your remote connection. While there are plenty of paid VPN services out there, there are also some solid free options worth checking out.
ProtonVPN
ProtonVPN offers a free tier that includes unlimited data and access to a few select servers. It's easy to set up and provides solid encryption, making it a great choice for securing your Pi connection.
TunnelBear
TunnelBear is another popular free VPN option. While it does have a data limit, it's still a great choice for occasional use. Plus, the interface is super user-friendly, even for beginners.
Windscribe
Windscribe offers a generous 10GB of free data per month, which should be more than enough for most remote Pi users. It also supports a wide range of platforms, making it easy to integrate into your workflow.
Security Tips for Remote Pi Access
While remote access is incredibly convenient, it's important to prioritize security. After all, you don't want some random hacker taking over your Pi. Here are a few tips to keep your connection safe:
1. Use Strong Passwords
Never use weak or default passwords for your Pi. Instead, opt for strong, unique passwords that include a mix of letters, numbers, and symbols.
2. Enable Two-Factor Authentication
Two-factor authentication adds an extra layer of security to your connection, making it much harder for unauthorized users to gain access.
3. Keep Your Software Up to Date
Regularly updating your Pi's software ensures that any security vulnerabilities are patched promptly. Set up automatic updates if possible to save yourself the hassle.
Troubleshooting Common Issues
Even the best-laid plans can hit a snag from time to time. If you're having trouble accessing your Pi remotely, here are a few common issues and how to fix them:
Problem: Can't Connect via SSH
Solution: Double-check your Pi's IP address and ensure that SSH is enabled. If you're still having issues, try restarting your Pi and your router.
Problem: Slow Connection Speeds
Solution: If your connection is sluggish, try using a wired connection instead of Wi-Fi. You can also optimize your Pi's settings to reduce bandwidth usage.
Problem: Security Concerns
Solution: Review your security settings and ensure that you're using a strong password and enabling two-factor authentication. Consider setting up a firewall for added protection.
Real-World Uses of Remote Pi Access
Now that you've got the basics down, let's talk about some real-world applications of remote Pi access. The possibilities are endless, but here are a few ideas to get you started:
1. Home Automation
Use your Pi to control smart home devices like lights, thermostats, and security cameras. With remote access, you can manage everything from anywhere in the world.
2. Personal Cloud Storage
Set up your Pi as a personal cloud server and access your files from any device. No more relying on third-party services – take control of your data.
3. IoT Projects
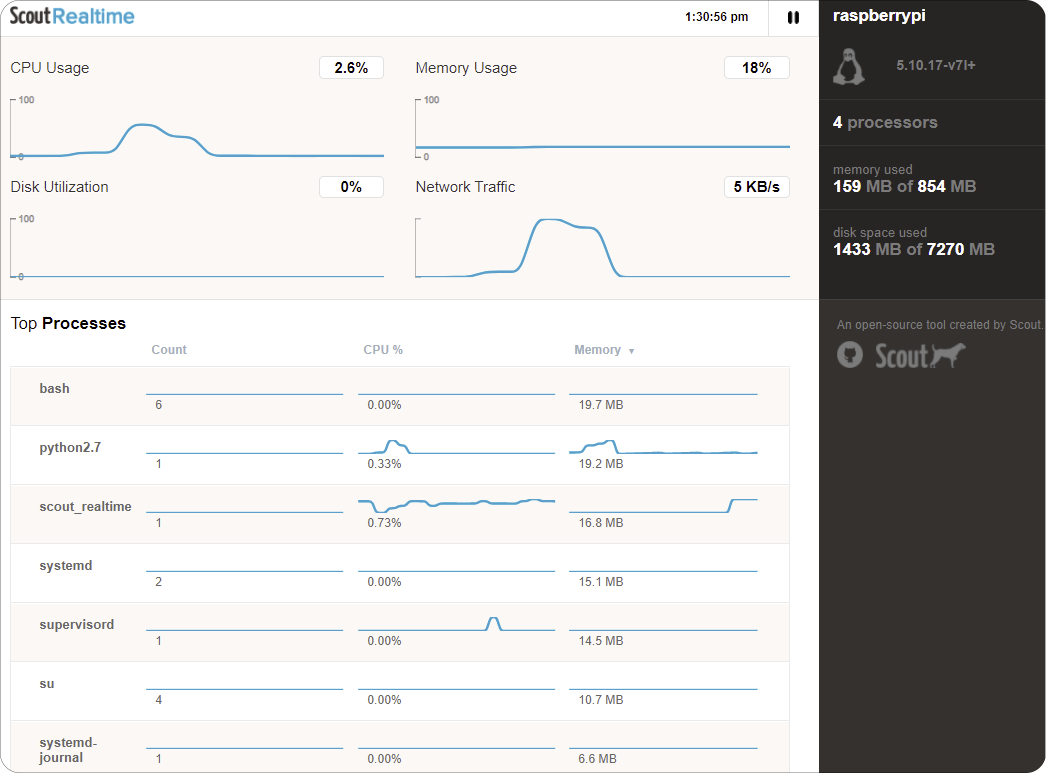
From weather stations to soil moisture sensors, the Pi is perfect for IoT projects. With remote access, you can monitor and manage your devices in real-time.
Conclusion: Take Control of Your Pi
There you have it – everything you need to know about accessing your Raspberry Pi remotely for free. From setting up SSH to exploring free VPN options, we've covered all the bases to help you take full control of your Pi.
Remember, remote access isn't just about convenience; it's about unlocking the full potential of your Raspberry Pi. So don't be afraid to experiment and try new things. And if you run into any issues, don't hesitate to reach out to the vibrant Pi community for support.
Now it's your turn. Tell us how you plan to use remote Pi access in the comments below. And if you found this guide helpful, be sure to share it with your fellow Pi enthusiasts. Together, let's make the world of remote access a little brighter – one Pi at a time!