So listen up, folks. Remote access has become a game-changer in today's world. Whether you're a tech enthusiast or a professional looking to manage your Raspberry Pi projects from anywhere, mastering remote access Raspberry Pi SSH over the Internet for free is a skill worth having. Imagine being able to connect to your Pi from the comfort of your couch or even while you're sipping coffee at a café halfway across the globe. Sounds cool, right? Well, it’s not just cool—it’s essential in this digital age.
Now, before we dive deep into the technicalities, let’s break it down. SSH, or Secure Shell, is like a secret tunnel that lets you control your Raspberry Pi remotely. It’s secure, efficient, and, most importantly, free! With SSH, you can manage files, run scripts, and even troubleshoot issues without physically being near your device. But here’s the catch—making it work over the Internet requires a bit of know-how. Don’t worry, though; we’ve got you covered with step-by-step instructions and pro tips to make it happen.
Here’s the deal: if you’ve ever wondered how to set up remote access for your Raspberry Pi without breaking the bank, you’re in the right place. This guide will walk you through everything you need to know, from configuring SSH to ensuring your setup is secure. So buckle up, grab your Pi, and let’s get started!
Read also:What Is Hdhb4u Unlocking The Potential Of This Trending Term
Table of Contents
- What is SSH?
- Raspberry Pi Basics
- Why Remote Access Matters
- Setting Up SSH on Your Raspberry Pi
- Connecting SSH Over the Internet
- Security Best Practices
- Troubleshooting Tips
- Free Tools You Need
- Alternative Methods
- Conclusion
What is SSH?
Alright, let’s start with the basics. SSH, or Secure Shell, is like a super-secure way to communicate with your Raspberry Pi—or any computer, for that matter—from a distance. It’s not just about typing commands; it’s about doing so in a way that keeps your data safe from prying eyes. Think of it as a digital handshake that ensures only you and your device are talking to each other.
SSH uses encryption to protect your data during transmission. This means that even if someone intercepts your connection, they won’t be able to make sense of what’s being sent back and forth. And hey, who doesn’t love a little extra security, right?
Key Features of SSH
- Encrypted communication
- Command-line access
- File transfer capabilities
- Support for multiple authentication methods
Now that you know what SSH is, let’s talk about why it’s such a big deal when it comes to Raspberry Pi.
Raspberry Pi Basics
The Raspberry Pi is more than just a tiny computer; it’s a versatile tool that can be used for everything from home automation to data analysis. But one of its coolest features is its ability to be accessed remotely. Whether you’re using it as a media center, a server, or even a weather station, having remote access makes life so much easier.
Here’s the thing: the Raspberry Pi doesn’t come with SSH enabled by default. You’ll need to turn it on manually, but don’t worry—it’s a breeze. We’ll cover that in a bit. For now, just remember that your Pi is like a little powerhouse waiting to be unleashed, and SSH is the key to unlocking its full potential.
Why Raspberry Pi?
- Cost-effective
- Compact and portable
- Highly customizable
- Perfect for learning and experimentation
With all these advantages, it’s no wonder the Raspberry Pi has become a favorite among hobbyists and professionals alike. Now, let’s move on to why remote access is so important.
Read also:Hdhub4ucom 2024 Your Ultimate Destination For Highquality Entertainment
Why Remote Access Matters
Imagine this scenario: you’re on vacation, and suddenly you realize you forgot to update a script on your Raspberry Pi. Without remote access, you’d have to cut your trip short or wait until you get home. But with SSH, you can log in from anywhere and make the necessary changes in a matter of minutes.
Remote access isn’t just about convenience; it’s about efficiency. It allows you to manage your projects without being tied down to a specific location. Whether you’re troubleshooting a server issue or monitoring sensors in real-time, SSH gives you the freedom to work from wherever you are.
Benefits of Remote Access
- Increased productivity
- Flexibility in work location
- Real-time monitoring and control
- Cost savings (no need for physical presence)
Now that you understand why remote access is so valuable, let’s dive into how to set up SSH on your Raspberry Pi.
Setting Up SSH on Your Raspberry Pi
Alright, let’s get our hands dirty. The first step in setting up remote access is enabling SSH on your Raspberry Pi. Here’s how you do it:
- Boot up your Raspberry Pi and log in.
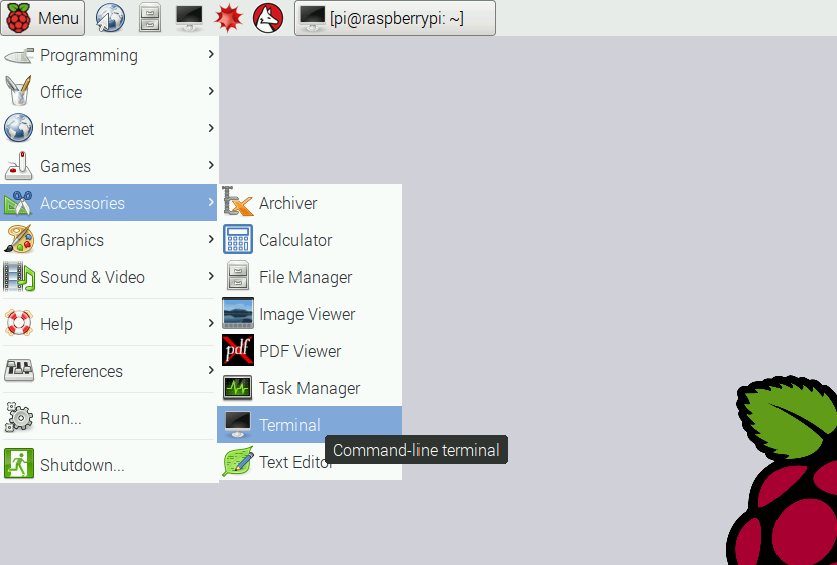
- Open the terminal (it’s that black window with a blinking cursor).
- Type
sudo raspi-configand hit Enter. - Select “Interfacing Options” using the arrow keys.
- Choose “SSH” and enable it.
- Reboot your Pi by typing
sudo reboot.
And just like that, SSH is ready to go! But wait, there’s more. To connect to your Pi remotely, you’ll need to know its IP address. You can find this by typing ifconfig in the terminal and looking for the “inet” address under the Ethernet or Wi-Fi section.
Pro Tip
Consider setting up a static IP address for your Pi. This way, you won’t have to worry about it changing every time you reboot your device. Trust me, it’ll save you a lot of headaches in the long run.
Connecting SSH Over the Internet
Now that SSH is enabled, it’s time to take it to the next level by connecting over the Internet. This part can be a bit tricky, but don’t worry—we’ll walk you through it step by step.
Step 1: Port Forwarding
Port forwarding is like creating a doorway in your router that allows external devices to connect to your Pi. Here’s how to set it up:
- Log in to your router’s admin interface (usually by typing
192.168.0.1or192.168.1.1in your browser). - Find the “Port Forwarding” section (it might be under “Advanced Settings” or something similar).
- Add a new rule and set the external port to 22 (the default SSH port).
- Set the internal IP address to your Raspberry Pi’s IP address.
- Save the changes and restart your router if necessary.
Step 2: Finding Your Public IP Address
Your public IP address is the address the world sees when you connect to the Internet. You can find it by typing “what is my IP” into a search engine or by visiting websites like whatismyip.com.
Step 3: Connecting with an SSH Client
Now that everything is set up, you can connect to your Pi using an SSH client. On Windows, you can use PuTTY, while macOS and Linux users can simply use the terminal. Here’s the command you’ll need:
ssh pi@[your-public-ip-address]Replace [your-public-ip-address] with your actual public IP address. You’ll be prompted to enter your Pi’s password, and voilà—you’re connected!
Security Best Practices
Security should always be a top priority when setting up remote access. Here are some tips to keep your Raspberry Pi safe:
- Change the default SSH port (e.g., from 22 to 2222).
- Use strong, unique passwords.
- Enable two-factor authentication if possible.
- Regularly update your Pi’s software.
- Monitor your SSH logs for suspicious activity.
By following these practices, you’ll significantly reduce the risk of unauthorized access to your device.
Troubleshooting Tips
Even the best-laid plans can go awry sometimes. If you’re having trouble connecting to your Raspberry Pi, here are a few things to check:
- Make sure SSH is enabled on your Pi.
- Verify that port forwarding is set up correctly.
- Ensure your firewall isn’t blocking the SSH port.
- Double-check your public IP address.
- Try restarting your router and Pi.
If none of these work, don’t hesitate to reach out to online forums or communities for help. Chances are, someone else has faced the same issue and can offer advice.
Free Tools You Need
There are several free tools that can make your SSH experience smoother:
- Putty: A popular SSH client for Windows.
- ngrok: A tool that creates secure tunnels to your Pi.
- OpenSSH: Pre-installed on most Linux and macOS systems.
- No-IP: A dynamic DNS service that keeps your IP address updated.
These tools can help you bypass common issues and make your remote access setup more reliable.
Alternative Methods
If SSH isn’t your cup of tea, there are other ways to achieve remote access:
- VNC: A graphical remote desktop solution.
- Web-based interfaces: Ideal for web development projects.
- Cloud services: Services like AWS or Google Cloud can host your Pi’s data remotely.
Each method has its pros and cons, so it’s worth experimenting to see which one works best for you.
Conclusion
And there you have it—a comprehensive guide to setting up remote access Raspberry Pi SSH over the Internet for free. Whether you’re a beginner or an experienced user, mastering this skill can open up a world of possibilities for your projects. Just remember to prioritize security and keep your setup updated to avoid any potential issues.
So what are you waiting for? Grab your Raspberry Pi, follow the steps outlined in this guide, and start exploring the power of remote access. And don’t forget to share your experiences in the comments below. We’d love to hear how you’re using SSH to enhance your projects!