So, you're thinking about hardwood flooring, huh? Well, let me tell ya, it’s one of the most classic and timeless choices you can make for your home. But hold up—there’s more to it than just slapping down some planks. Hardwood flooring nails play a crucial role in ensuring your floor stays sturdy, secure, and looking fly for years to come. Whether you’re a DIY enthusiast or hiring a pro, knowing the ins and outs of hardwood flooring nails is gonna save you from some serious headaches.
Now, I know what you’re thinking—nails? Really? In this day and age of high-tech adhesives and fancy click-lock systems, why even bother with nails? Well, my friend, nails are still the go-to for many professionals because they offer unmatched strength, durability, and ease of use. Plus, they’re super versatile and work with almost any type of hardwood flooring out there.
But before we dive headfirst into the world of hardwood flooring nails, let’s clear something up. This ain’t your average guide. We’re gonna break it down step by step, from the basics to the nitty-gritty details. By the time you’re done reading, you’ll be ready to tackle your next flooring project like a total pro. So, grab a cup of coffee, sit back, and let’s get started!
Read also:Why Ibi Group Architects Is Revolutionizing Modern Design And Sustainability
Why Hardwood Flooring Nails Matter
Alright, let’s talk turkey. Hardwood flooring nails aren’t just random pieces of metal you hammer into the ground. They’re specifically designed to hold your flooring planks securely in place without causing any damage. And trust me, when you’re dealing with expensive hardwood, you don’t want to mess around with subpar materials.
One of the biggest reasons nails are still king in the flooring world is their ability to flex and move with the wood. Unlike glue, which can become brittle over time, nails allow for natural expansion and contraction as the wood adjusts to changes in temperature and humidity. This means your floor won’t crack, warp, or pop up unexpectedly. Pretty neat, right?
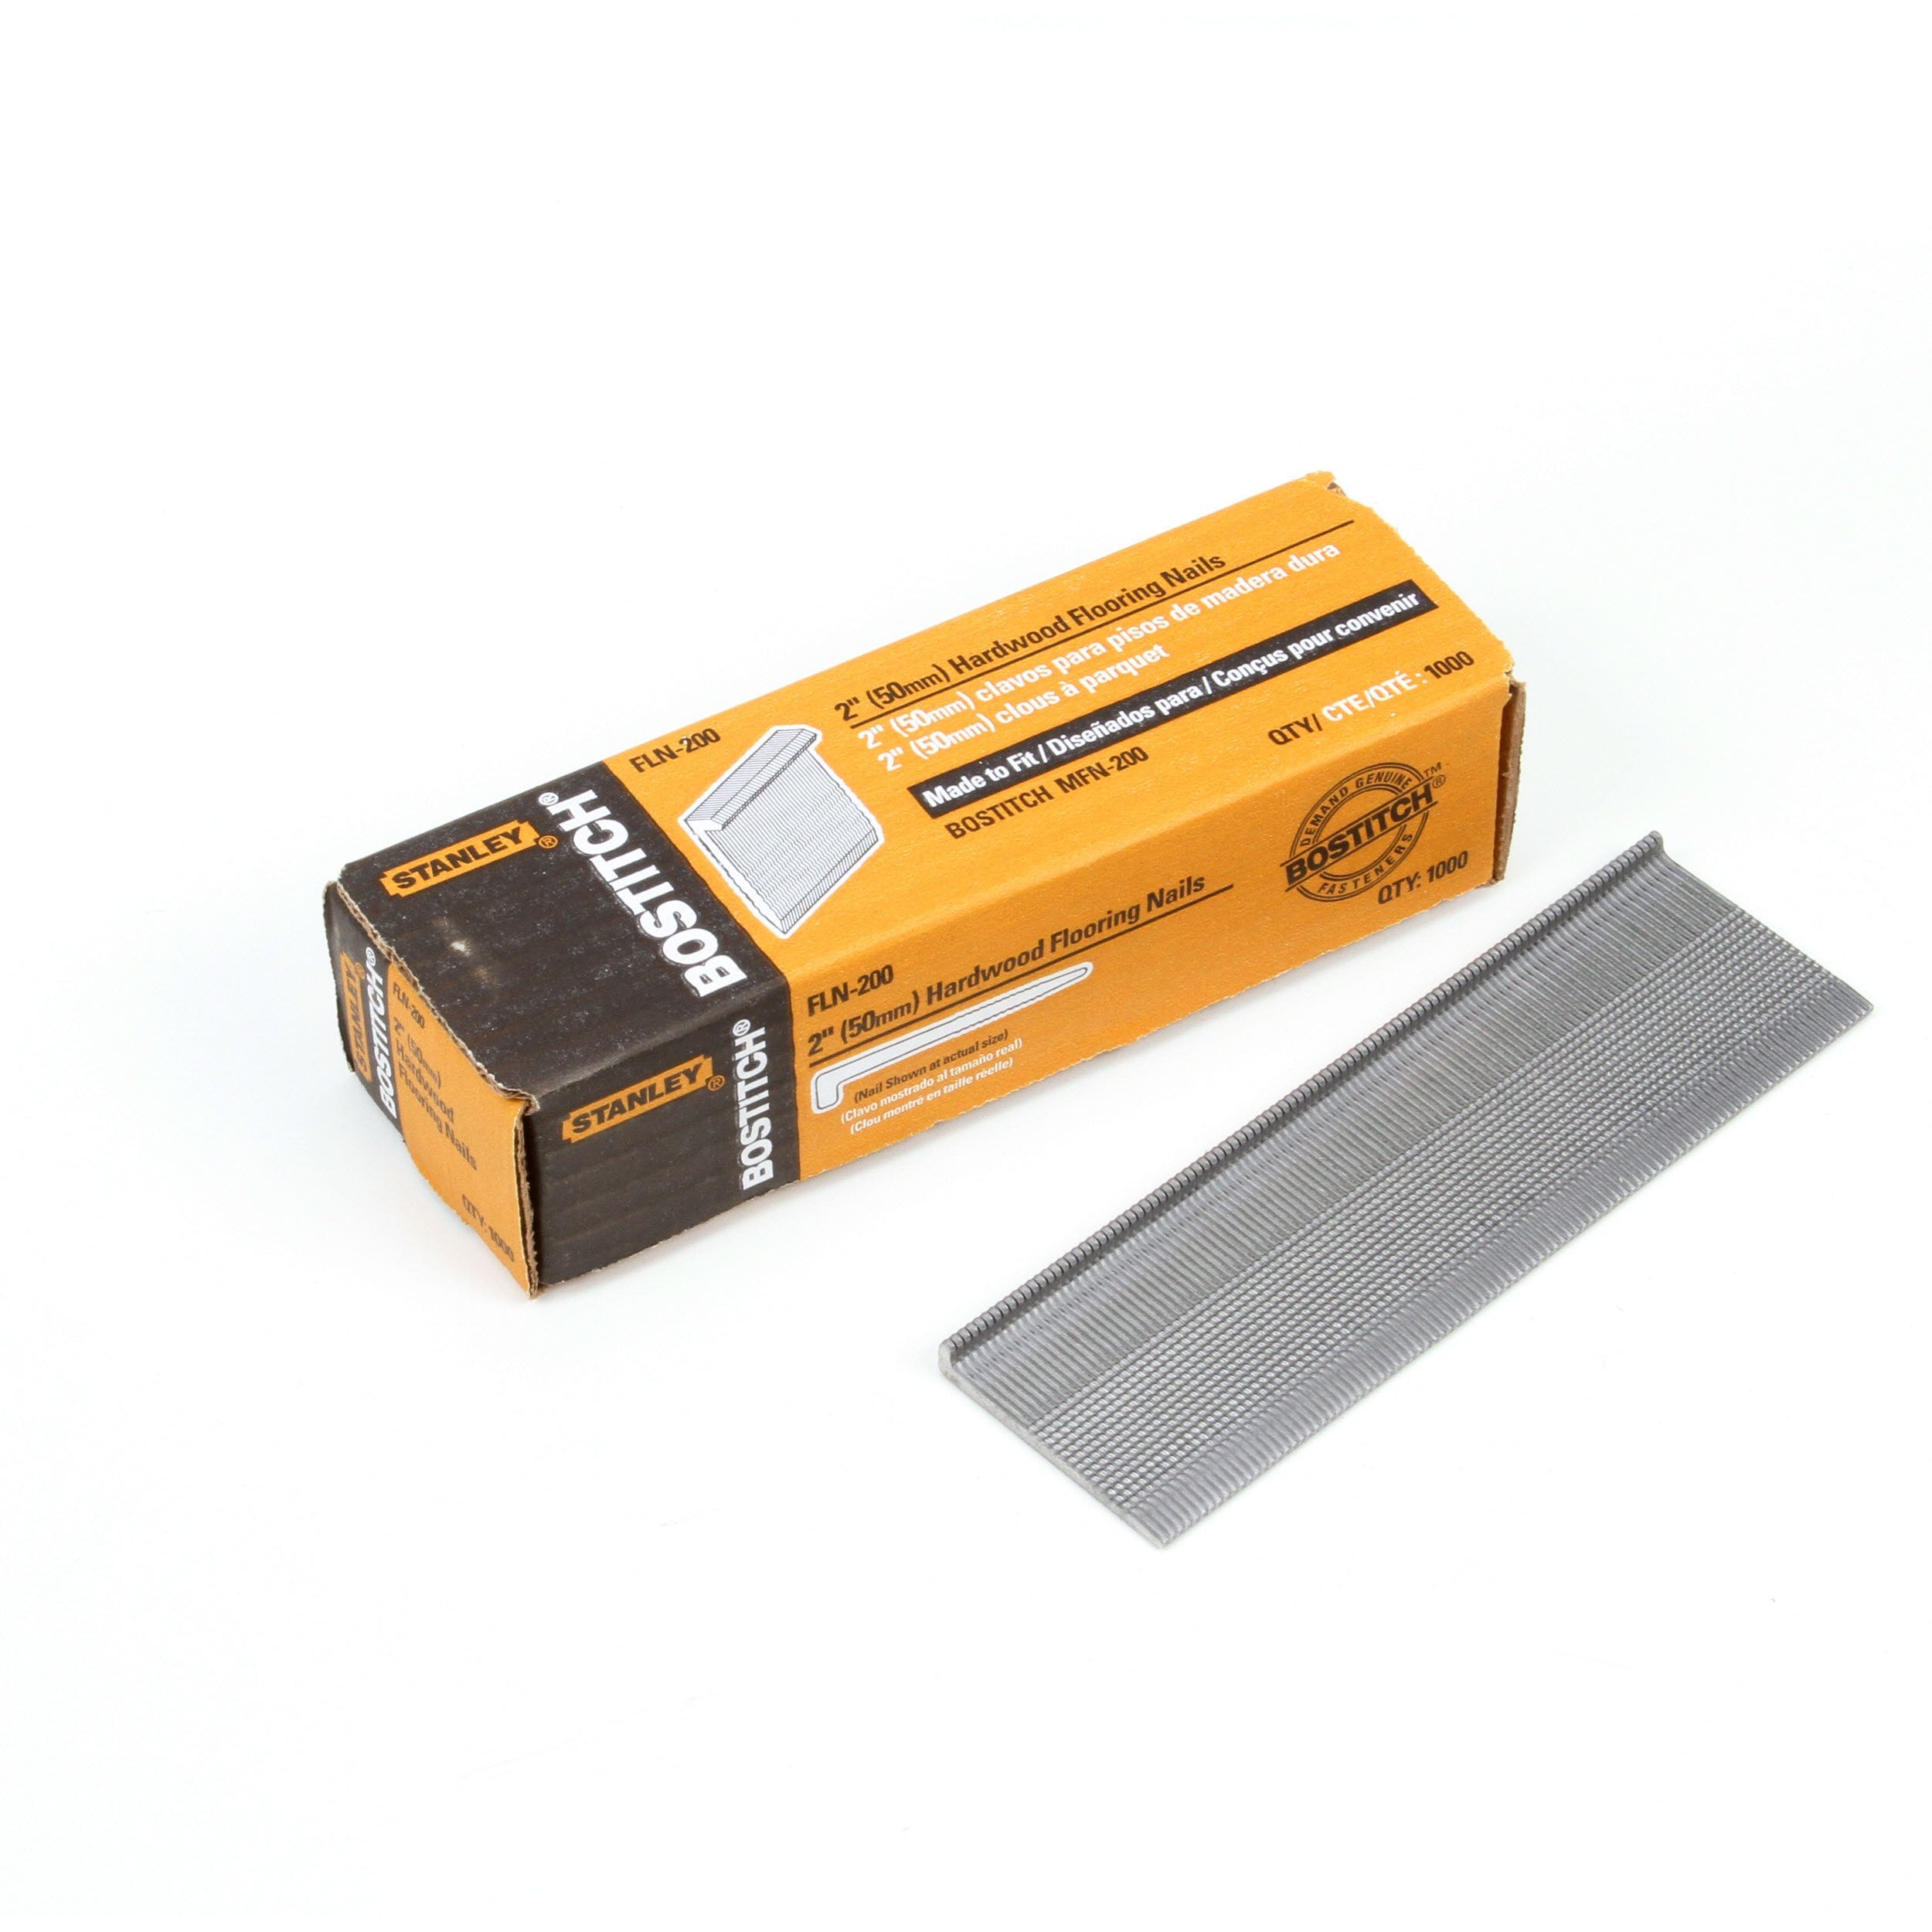
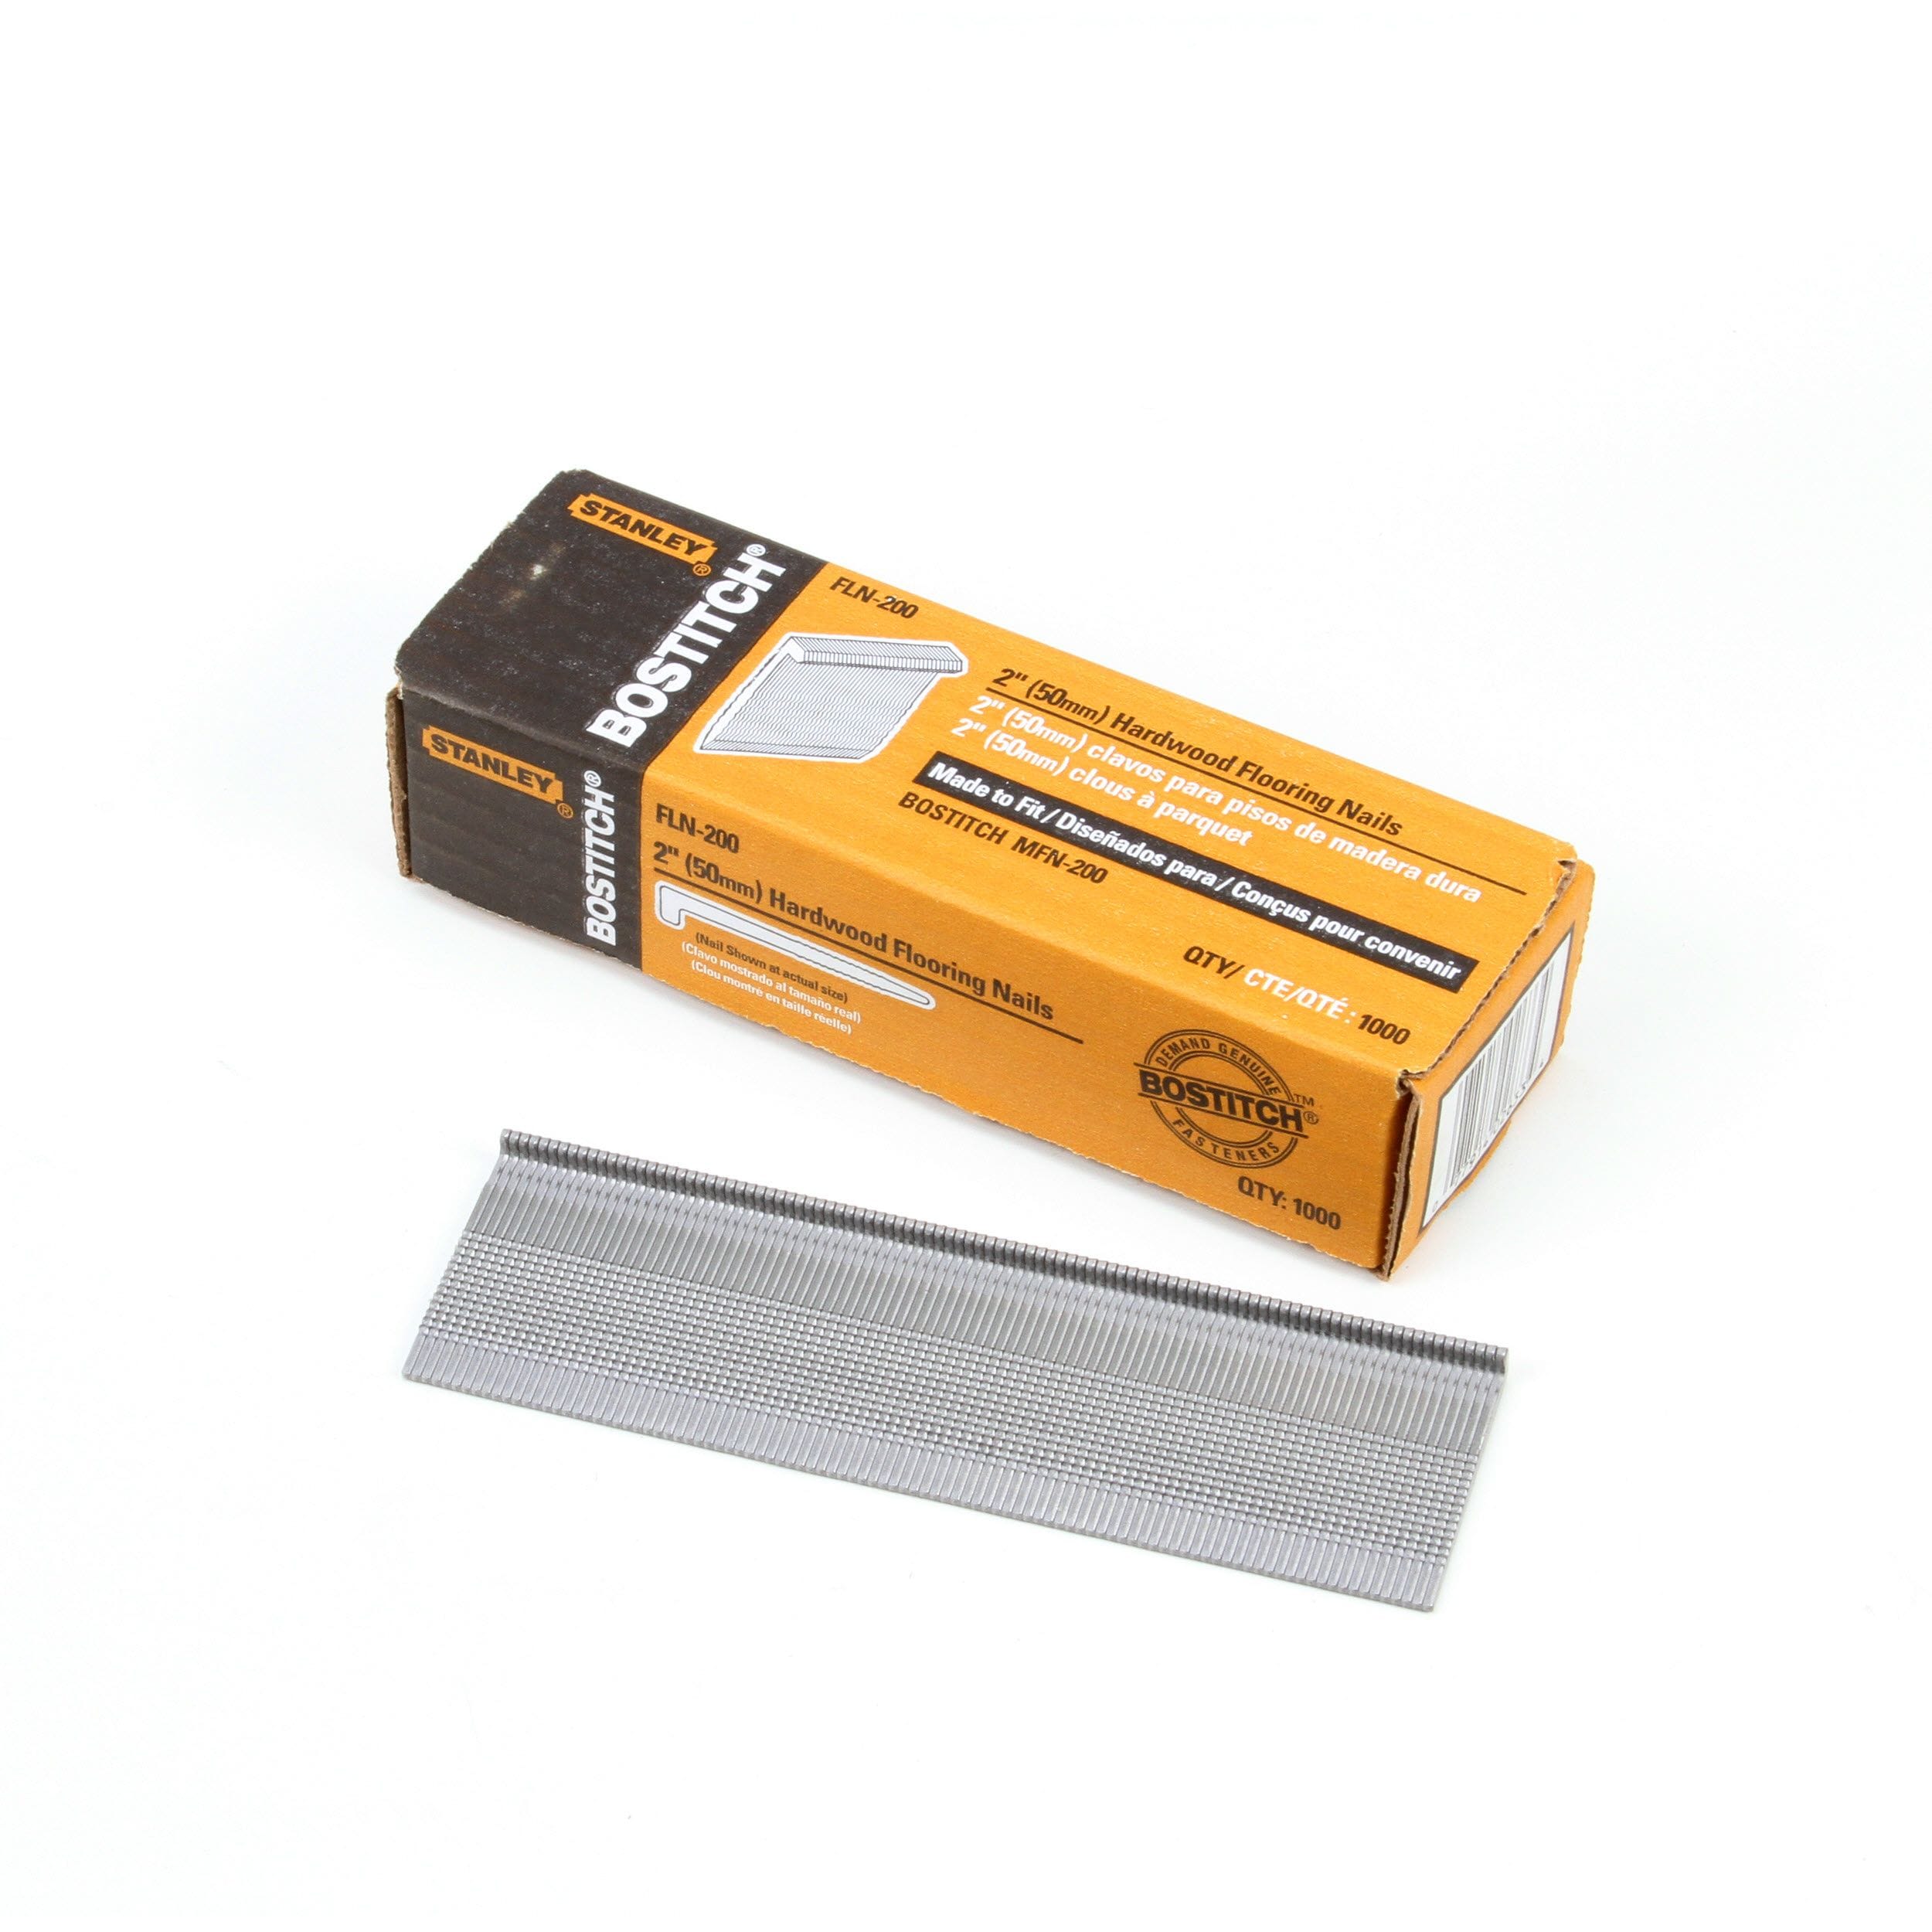
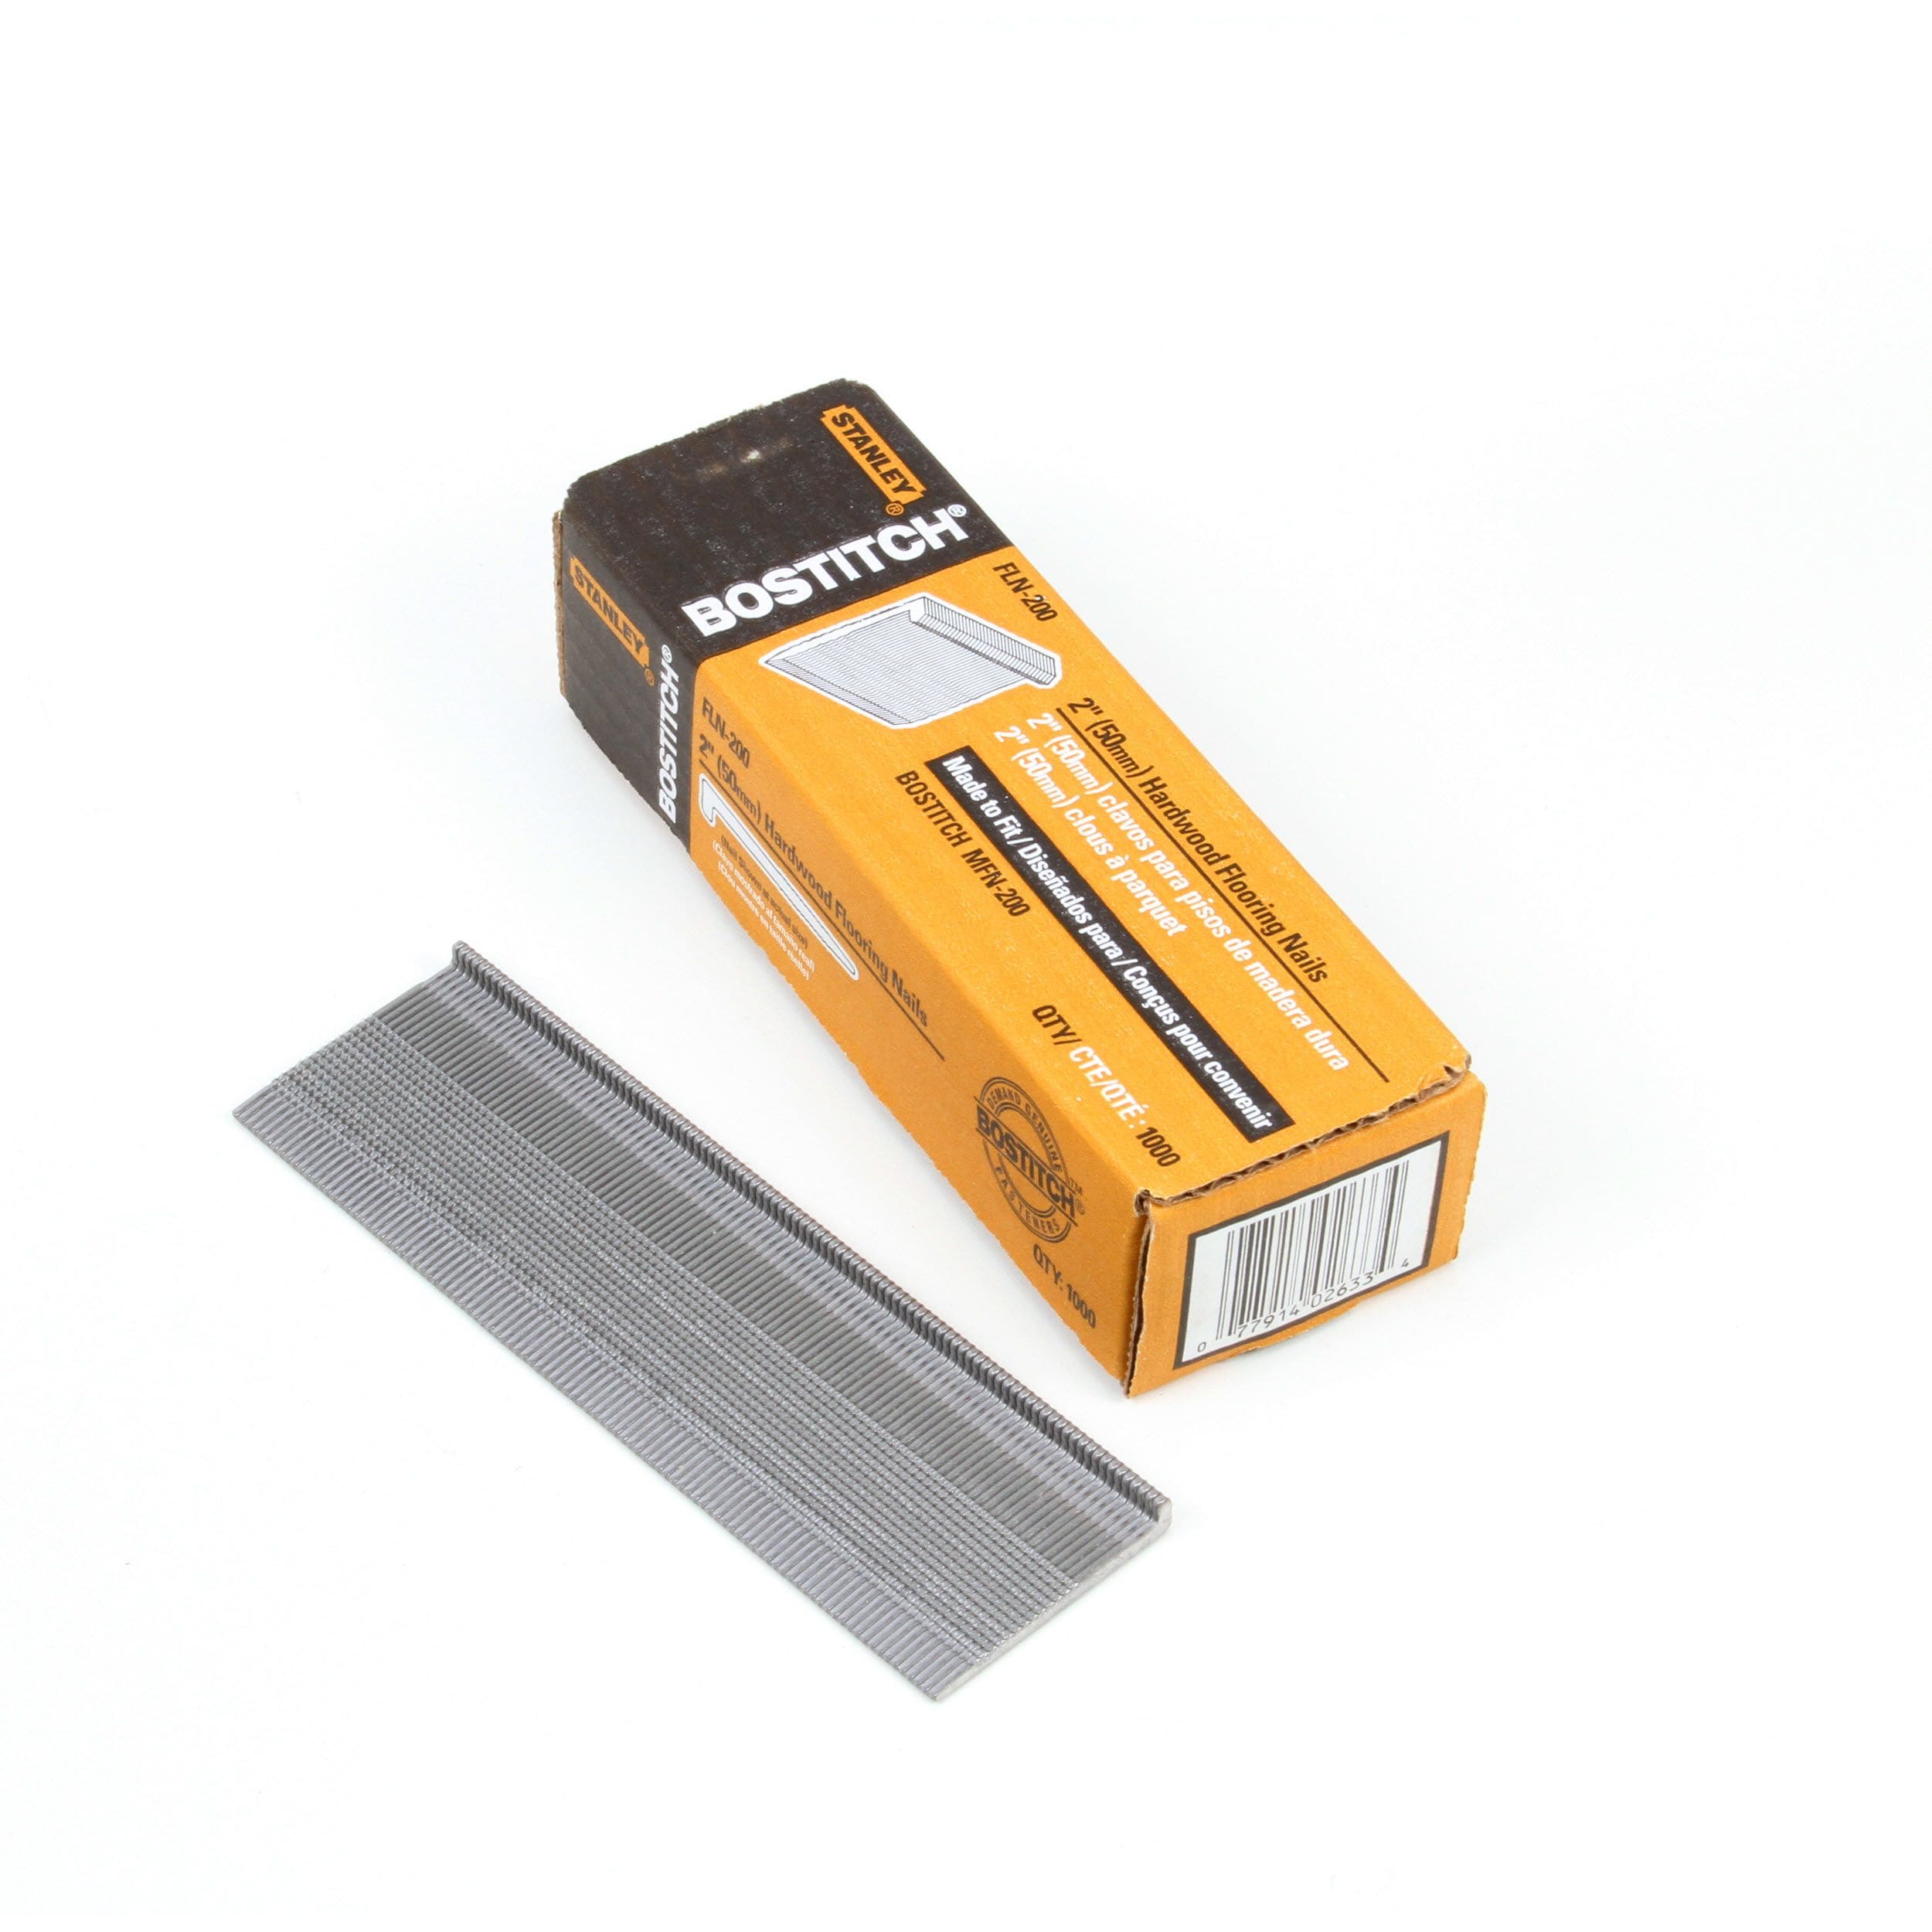
Types of Hardwood Flooring Nails
Now, here’s where things get interesting. Not all nails are created equal, and when it comes to hardwood flooring, you need to choose wisely. Let’s take a look at some of the most common types:
- Cleat Nails: These babies are the workhorses of the flooring world. They have a unique design that allows them to grip the wood tightly without causing any splits or cracks.
- Brad Nails: If you’re working on a thinner or more delicate type of wood, brad nails are your best bet. They’re smaller and less likely to cause damage.
- Ring Shank Nails: These bad boys have tiny ridges along their length that help them grip the wood even better. They’re perfect for high-traffic areas where durability is key.
And don’t forget about finish nails! These are great for those last-minute touch-ups or when you need to secure trim or moldings. But more on that later.
How to Choose the Right Hardwood Flooring Nails
Picking the right nails for your project isn’t as simple as grabbing the first box you see at the hardware store. You need to consider factors like the type of wood you’re using, the thickness of the planks, and the level of foot traffic the room will experience.
For example, if you’re installing oak flooring in a living room, you’ll want to go with something sturdy like cleat nails. But if you’re working with bamboo or engineered wood, brad nails might be a better option. And let’s not forget about outdoor spaces—those need nails that can withstand the elements, like galvanized or stainless steel options.
Read also:Mastering Remoteiot Web Ssh A Raspberry Pi Guide To Download And Use Freely
Factors to Consider When Choosing Nails
Here’s a quick rundown of the main things you should keep in mind:
- Material: Is your wood soft or hard? This will determine how thick and strong your nails need to be.
- Length: Make sure the nails are long enough to penetrate the subfloor but not so long that they poke through the other side.
- Finish: If you’re going for a polished look, you’ll want to choose nails that can be easily countersunk and filled with putty.
And let’s not forget about budget. While it’s tempting to go for the cheapest option, remember that quality matters. Investing in good nails now will save you money and hassle in the long run.
Tools You’ll Need for Hardwood Flooring Installation
Alright, so you’ve got your nails picked out—now what? Well, before you start hammering away, you’re gonna need the right tools. Here’s a quick list to get you started:
- Nail Gun: This is your best friend when it comes to installing hardwood flooring. It’s fast, efficient, and makes the job a whole lot easier.
- Hammer: For those times when the nail gun just won’t cut it, a good old-fashioned hammer is a must-have.
- Tapping Block: This little guy helps you align the planks perfectly without damaging the surface.
And don’t forget about safety gear! Gloves, goggles, and a dust mask are essential for protecting yourself while you work.
Pro Tips for Using a Nail Gun
If you’re new to using a nail gun, don’t worry—it’s easier than it looks. Here are a few tips to help you get started:
- Start with a low pressure setting and adjust as needed.
- Always keep the gun perpendicular to the wood to ensure a clean, straight shot.
- Practice on some scrap pieces first to get the hang of it.
And remember, patience is key. Rushing the job will only lead to mistakes, so take your time and do it right the first time.
Common Mistakes to Avoid
Even the pros make mistakes sometimes, but there are a few common ones you can easily avoid with a little know-how. Here are some of the biggest no-nos:
- Using the Wrong Nails: This is a recipe for disaster. Always double-check that you’re using the right type and size for your project.
- Over-Nailing: Too many nails in one area can cause the wood to split or buckle. Stick to the recommended spacing guidelines.
- Not Pre-Drilling: For harder woods, pre-drilling is a must to prevent splitting.
And one more thing—don’t forget to clean up your work area as you go. A cluttered space is a recipe for accidents and mistakes.
DIY vs. Hiring a Pro
So, you’re probably wondering whether you should tackle this project yourself or call in the cavalry. The truth is, it depends on your skill level and how much time you’re willing to invest.
If you’re comfortable with tools and have some experience with DIY projects, installing hardwood flooring can be a rewarding and cost-effective way to upgrade your home. But if you’re unsure or dealing with a large space, hiring a professional might be the way to go. They’ll have the expertise and equipment to get the job done quickly and efficiently.
Cost Considerations
When it comes to cost, DIY can save you a bundle, but you’ll need to factor in the cost of materials and tools. On the other hand, hiring a pro can be pricey, but you’ll get peace of mind knowing the job will be done right.
And don’t forget about maintenance! Whether you do it yourself or hire someone, regular upkeep is key to keeping your hardwood floors looking fresh and new.
Conclusion: Time to Nail It
Well, there you have it—the ultimate guide to hardwood flooring nails. From choosing the right type to avoiding common mistakes, you’re now equipped with everything you need to tackle your next flooring project like a champ.
Remember, the key to success is preparation, patience, and using the right tools and materials. And if you ever get stuck, don’t hesitate to reach out to a professional for advice or assistance.
So, what are you waiting for? Grab those nails, fire up that nail gun, and let’s get to work. And when you’re done, don’t forget to share your masterpiece with the world. Your friends and family will be blown away by your newfound flooring expertise!
Table of Contents