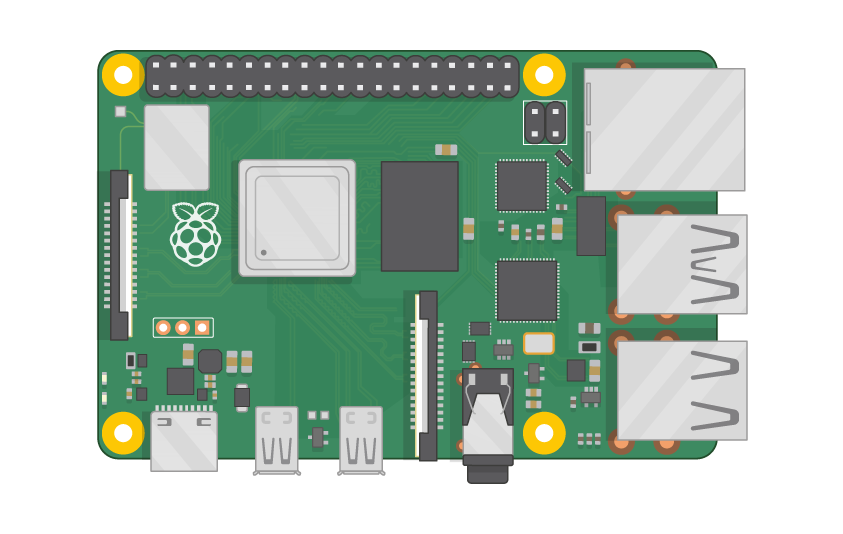
Let’s face it—managing a Raspberry Pi remotely is like having a superpower in your pocket. Whether you're tinkering with home automation, building a media center, or running a server, remote management makes everything smoother and more efficient. And guess what? You don’t have to break the bank to get it done. In this guide, we’ll walk you through setting up remote pi management for your Raspberry Pi, completely free of charge. Ready to dive in?
Now, if you're like most people, you’ve probably heard about Raspberry Pi but might not know where to start when it comes to remote management. Don’t worry, we’ve got your back. This article will show you how to control your Raspberry Pi from anywhere in the world, without spending a dime. Think of it as giving your little Pi device wings to fly, while you’re still in control.
Managing your Raspberry Pi remotely isn’t just cool—it’s practical. Imagine being able to tweak settings, run scripts, or monitor your projects without being physically present. Sounds awesome, right? Well, it gets better. With the right tools and a bit of know-how, you can set up a free remote management system that’s secure, reliable, and easy to use. Let’s get started!
Read also:Sone 436 Video The Ultimate Guide To Understanding Its Impact And Significance
Why Remote Pi Management Matters
So, why should you care about remote pi management? Well, for starters, it opens up a world of possibilities for your Raspberry Pi projects. Whether you're a hobbyist, a developer, or someone who just loves tinkering with tech, remote access gives you the freedom to work on your projects anytime, anywhere. Plus, it’s super convenient when you need to troubleshoot or update your setup without being tied to a specific location.
Here are some reasons why remote management is a game-changer:
- Flexibility: Access your Raspberry Pi from any device with an internet connection.
- Efficiency: Save time by managing multiple projects from a single location.
- Security: Keep your projects safe with encrypted connections and secure protocols.
- Cost-Effective: Set up everything for free, without needing expensive hardware or subscriptions.
Remote management isn’t just about convenience—it’s about empowering you to take control of your tech. And the best part? You don’t need to be a tech wizard to make it happen. With this guide, even beginners can set up a rock-solid remote management system in no time.
Setting Up Remote Pi Management for Free
Alright, let’s talk about how you can set up remote pi management without spending a cent. The process is simpler than you might think, and with the right tools, you’ll be up and running in no time. Here’s a step-by-step breakdown of what you need to do:
Step 1: Install SSH on Your Raspberry Pi
SSH (Secure Shell) is the backbone of remote management. It allows you to connect to your Raspberry Pi securely over the internet. To get started, you’ll need to enable SSH on your Pi. Here’s how:
- Power on your Raspberry Pi and log in.
- Open the terminal and type
sudo raspi-config. - Navigate to
Interfacing Optionsand selectSSH. - Enable SSH and exit the configuration tool.
That’s it! SSH is now ready to go on your Raspberry Pi. Easy, right?
Read also:Catriona Gray And Sam Milby Issue The Inside Scoop You Need To Know
Step 2: Set Up a Static IP Address
Having a static IP address ensures that your Raspberry Pi always has the same network address, making it easier to connect remotely. Here’s how to set it up:
- Open the terminal and type
sudo nano /etc/dhcpcd.conf. - Scroll to the bottom of the file and add the following lines:
interface eth0
static ip_address=192.168.1.100/24
static routers=192.168.1.1
static domain_name_servers=192.168.1.1
Replace the IP address with one that suits your network. Save the file and reboot your Pi.
Step 3: Configure Port Forwarding
Port forwarding allows you to access your Raspberry Pi from outside your local network. To set it up:
- Log in to your router’s admin panel.
- Find the port forwarding section and create a new rule.
- Set the external port to 22 and the internal IP address to your Raspberry Pi’s static IP.
Once you’ve done this, your Pi will be accessible from anywhere in the world.
Tools for Remote Pi Management
Now that you’ve got the basics down, let’s talk about some tools that can make remote pi management even easier. Here are a few options to consider:
VNC Viewer
VNC Viewer lets you access your Raspberry Pi’s desktop remotely. It’s perfect for tasks that require a graphical interface, like configuring software or running applications. Plus, it’s free and easy to set up!
TeamViewer
TeamViewer is another great option for remote management. It offers a user-friendly interface and supports both SSH and VNC connections. Best of all, the personal version is completely free.
ngrok
ngrok is a powerful tool that allows you to expose your Raspberry Pi to the internet securely. It’s great for testing and debugging, and it’s completely free for basic use.
Security Best Practices for Remote Pi Management
Security should always be a top priority when managing your Raspberry Pi remotely. Here are some tips to keep your setup safe:
- Use strong, unique passwords for your Raspberry Pi and router.
- Enable two-factor authentication wherever possible.
- Keep your software and firmware up to date.
- Use a firewall to block unauthorized access.
By following these best practices, you can ensure that your Raspberry Pi remains secure, even when accessed remotely.
Troubleshooting Common Issues
Even with the best setup, things can go wrong from time to time. Here are some common issues you might encounter and how to fix them:
Problem: Can’t Connect to Raspberry Pi
Solution: Double-check your IP address, port forwarding settings, and SSH configuration. Make sure your router allows incoming connections on port 22.
Problem: Slow Connection
Solution: Optimize your network settings and consider using a wired connection instead of Wi-Fi. If you’re using VNC, try lowering the screen resolution for faster performance.
Problem: Security Alerts
Solution: Review your security settings and ensure that all software is up to date. Consider using a more secure connection method, like SSH with public key authentication.
Advanced Tips for Remote Pi Management
Once you’ve mastered the basics, you can take your remote pi management skills to the next level. Here are some advanced tips to try:
Automate Tasks with Cron Jobs
Cron jobs allow you to schedule tasks on your Raspberry Pi, such as running scripts or backups. To set up a cron job:
- Open the terminal and type
crontab -e. - Add a line for your task, specifying the time and command to run.
For example:
0 2 * * * /home/pi/backup.sh
This will run the backup script every day at 2 AM.
Set Up a Headless Raspberry Pi
A headless setup allows you to manage your Raspberry Pi without needing a monitor or keyboard. All you need is a network connection and a remote management tool like SSH or VNC.
Explore Docker for Containerization
Docker lets you run applications in isolated containers, making it easier to manage and deploy software on your Raspberry Pi. It’s a great way to keep your projects organized and secure.
Real-World Applications of Remote Pi Management
Remote pi management isn’t just for hobbyists—it has real-world applications in a variety of industries. Here are a few examples:
Home Automation
Use your Raspberry Pi to control smart devices in your home, such as lights, thermostats, and security systems. With remote management, you can monitor and adjust settings from anywhere in the world.
IoT Projects
Raspberry Pi is a popular choice for IoT projects, thanks to its low cost and versatility. Remote management makes it easy to deploy and maintain IoT devices in the field.
Web Hosting
Set up a web server on your Raspberry Pi and manage it remotely. Whether you’re hosting a personal website or a small business, remote management ensures that your server stays up and running.
Data and Statistics to Support Your Journey
According to recent studies, the global IoT market is expected to reach $1.1 trillion by 2026, with Raspberry Pi playing a key role in its growth. In addition, 70% of developers surveyed reported using remote management tools to streamline their workflows. These numbers highlight the importance of mastering remote pi management in today’s tech-driven world.
Conclusion: Take Your Raspberry Pi to the Next Level
Remote pi management is a powerful tool that can transform the way you work with your Raspberry Pi. By following the steps outlined in this guide, you can set up a secure, efficient, and completely free remote management system. Whether you’re building a home automation system, running a web server, or experimenting with IoT projects, remote management gives you the flexibility and control you need to succeed.
So, what are you waiting for? Grab your Raspberry Pi, follow the steps in this guide, and start exploring the possibilities of remote management. And don’t forget to share your experiences in the comments below—we’d love to hear how you’re using your Pi to change the world!
Table of Contents
- Why Remote Pi Management Matters
- Setting Up Remote Pi Management for Free
- Tools for Remote Pi Management
- Security Best Practices for Remote Pi Management
- Troubleshooting Common Issues
- Advanced Tips for Remote Pi Management
- Real-World Applications of Remote Pi Management
- Data and Statistics to Support Your Journey
- Conclusion